How to Prevent Chafing
Cruising Catamaran Maintenance
In this blog we will look at a few of the processes and methods for managing any wear and tear or chafing, on a cruising catamaran or a cruising vessel of any kind.
From sailing long distances across oceans to short weekend daysails, sailing can induce quite a lot of wear and tear on the rig. We will look at methods for managing, maintaining and getting onto these before they become bigger problems.
This demonstration was done on a Lagoon 42 and is intended to give you confidence in your sailing capability.
The Dinghy
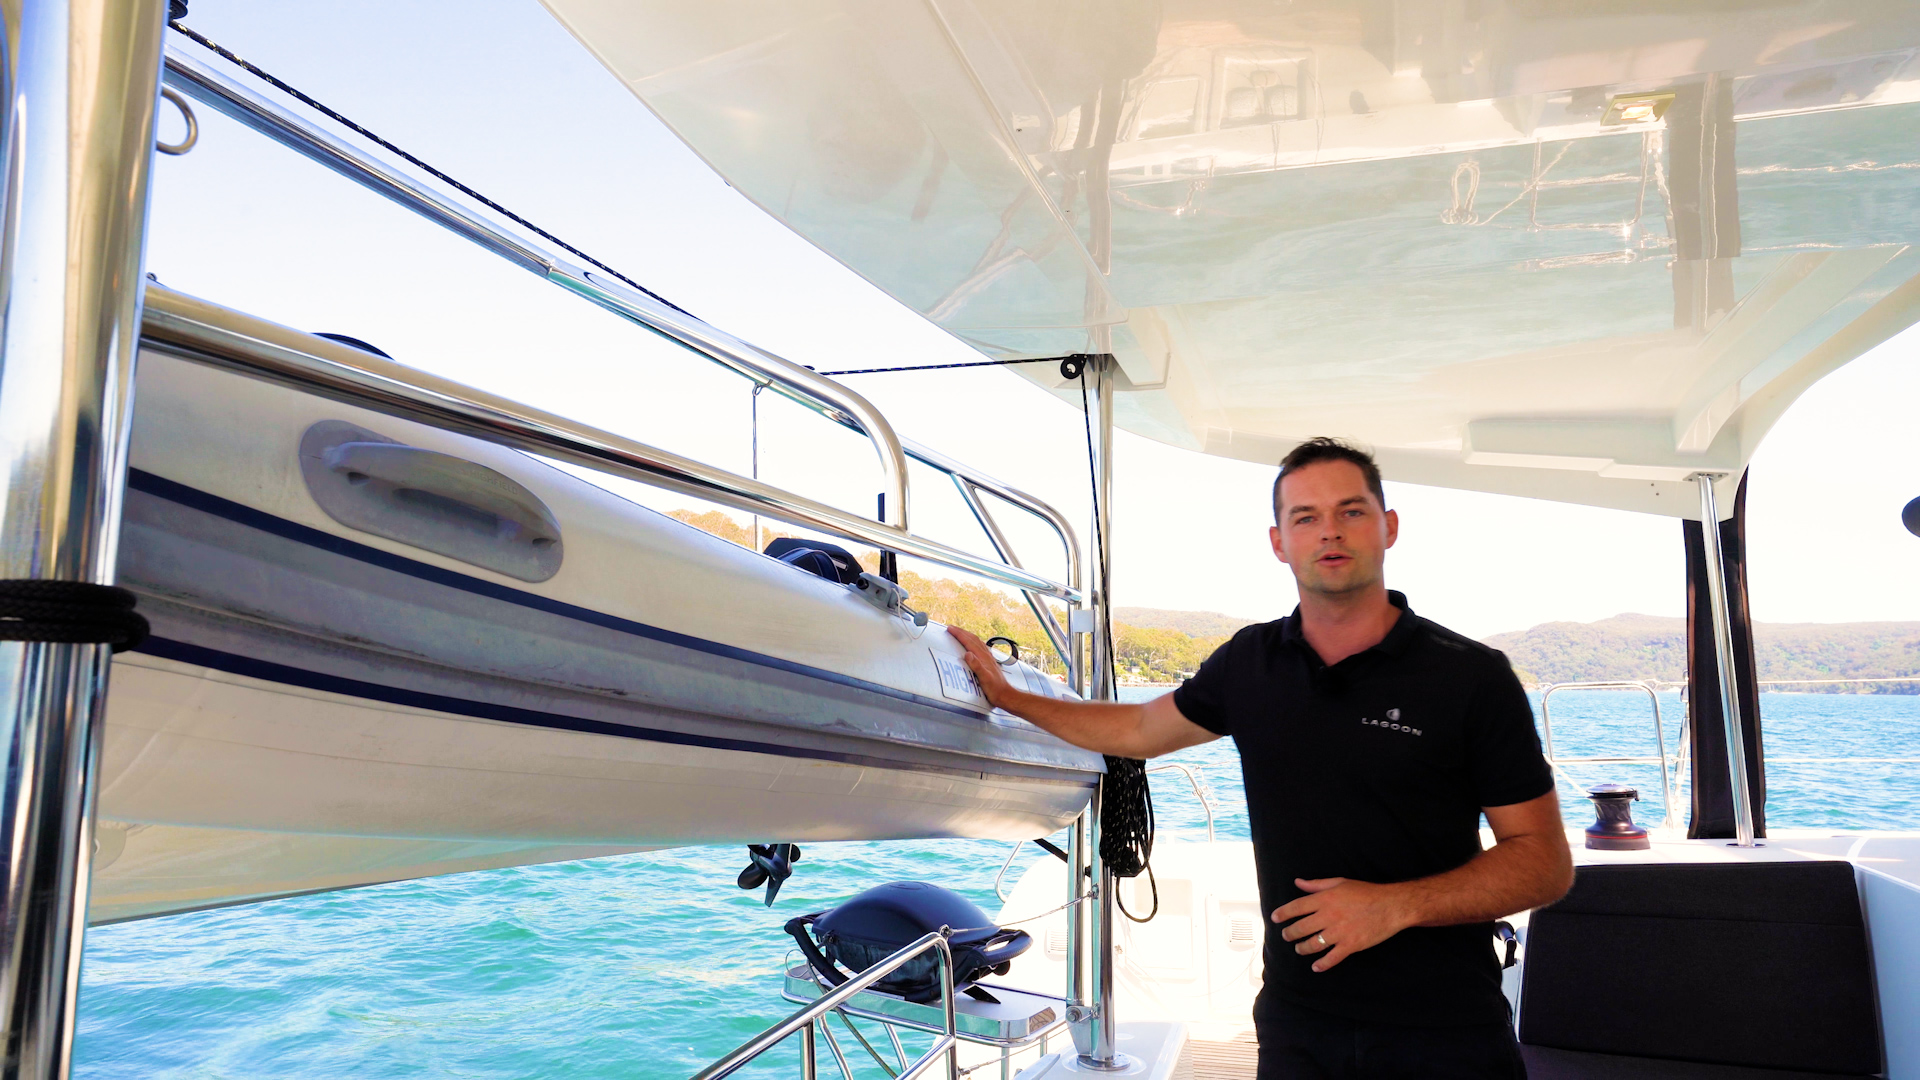
- Make sure when sailing offshore, or if there is a bit of chop or swell and the boat is moving around, that the dinghy is securely fastened and there is no movement at all.
- Any movement can cause damage to the tubes of the dinghy, as well as potential fraying of the Dyneema straps on the davits.
- In our video on the Lagoon 42, the dinghy is hanging from 2 davits. By tying the dinghy onto the vertical davits as well, the dinghy is very secure and is not moving around at all.
The Jib / Genoa / Headsail
- The jib runs on a furling line which is controlled from further aft. The line runs all the way along the deck through small eyelets, then through a turnbuckle on the bow, leading it to the furler drum.
- This line can take quite a lot of weight, especially when furling the jib so it is important to make sure that the line isn’t catching on any sharp edges or wearing out over time as it feeds into the furling drum.
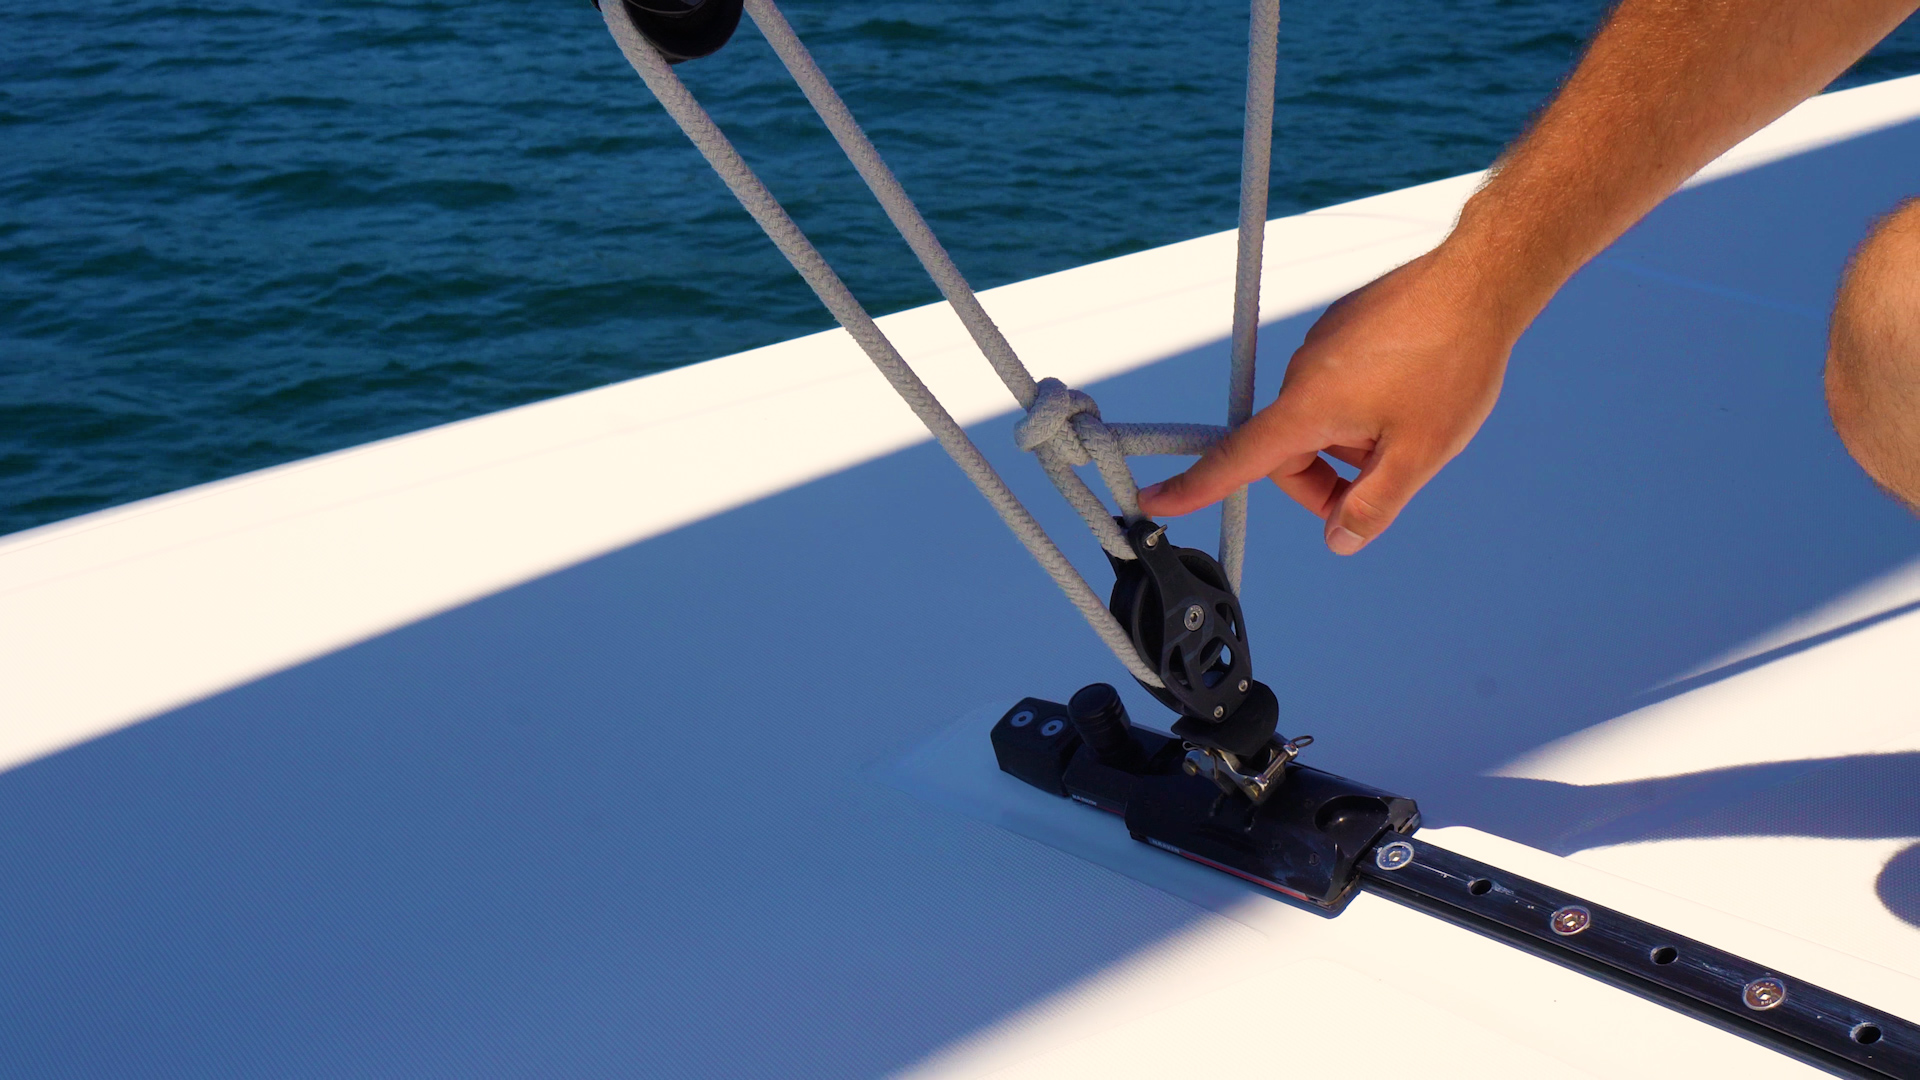
- The clew is on the back edge of the sail. On this Lagoon 42 it is attached to a self tacking sheet which runs from the controls, down the mast, to a block on the slider, to a block on the clew of the sail.
- The block on the clew of the sail can rotate, so it is important as you unfurl the sail to make sure the block doesn’t rotate, twisting the sheet around itself which will wear the line out and make it very hard to control the sail.
- The end of the sheet is tied onto the lower block with a bowline. Make sure that there is no chafing around here, luckily this is all easily visible or accessible from the helm.
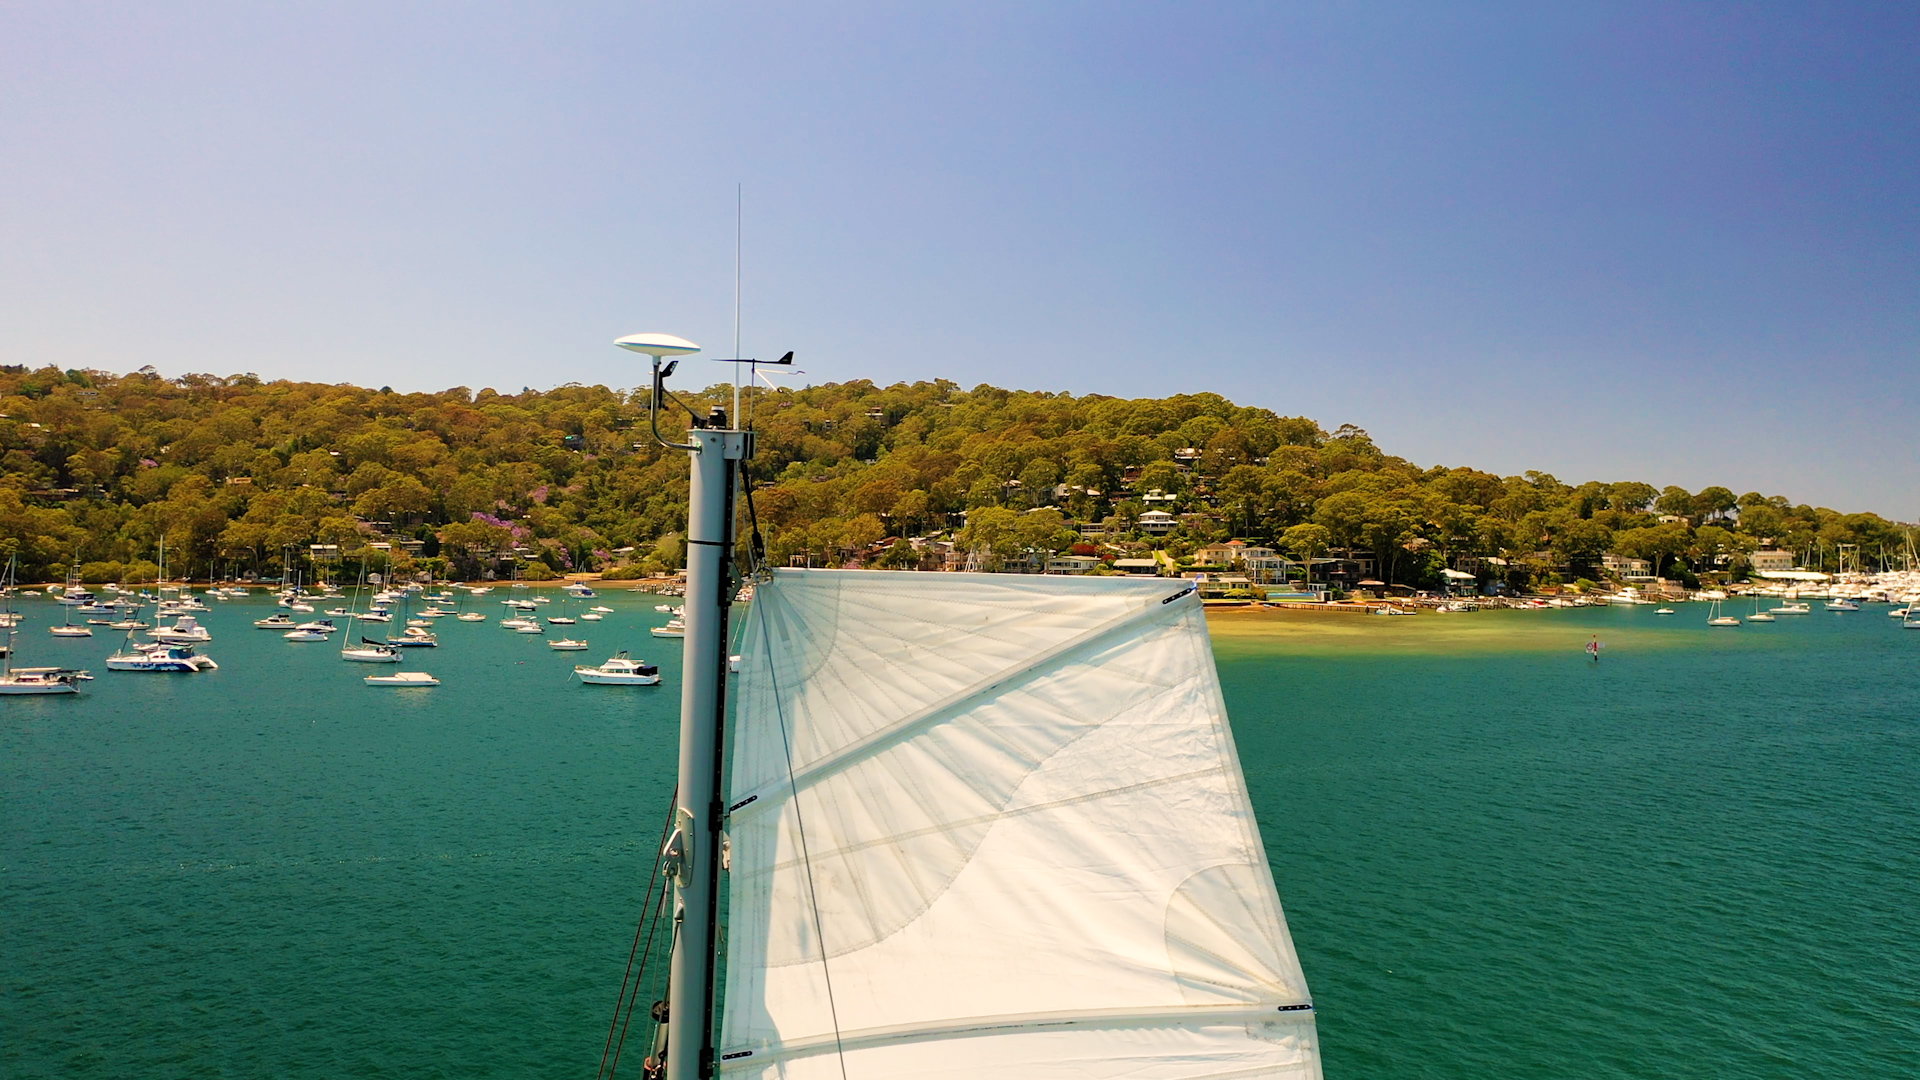
The Mainsail
- The halyard holds the main up from the top of the mast, followed by the tack on the forward bottom corner of the sail and the clew along the back edge.
- The main halyard is a 2-1 halyard and there is a block on the top of the sail, so the halyard starts fixed at the top of the mast, goes through the block on the top of the sail, up again, into the mast then down to the controls which we use for hoisting.
- One of the main chafe points can be where the main halyard enters the mast at the top.
- As with the jib sheet, it’s important to make sure the block isn’t twisted as you are hoisting the main, so the block is nicely inline with the sheathe at the top of the mast. A twisted main halyard will result in chafing and difficulty raising and lowering the sail.
- If the block at the top of the sail twists it can cause chafing on the edge of the sheathe where it enters the mast. This is usually not a problem sailing upwind because the sheathe and the block are inline, but sailing downwind where you ease out the sail and boom, this can twist the block on the top of the sail, causing chafing on the edge of the sheathe.
Chafing between the Mainsail and Shrouds
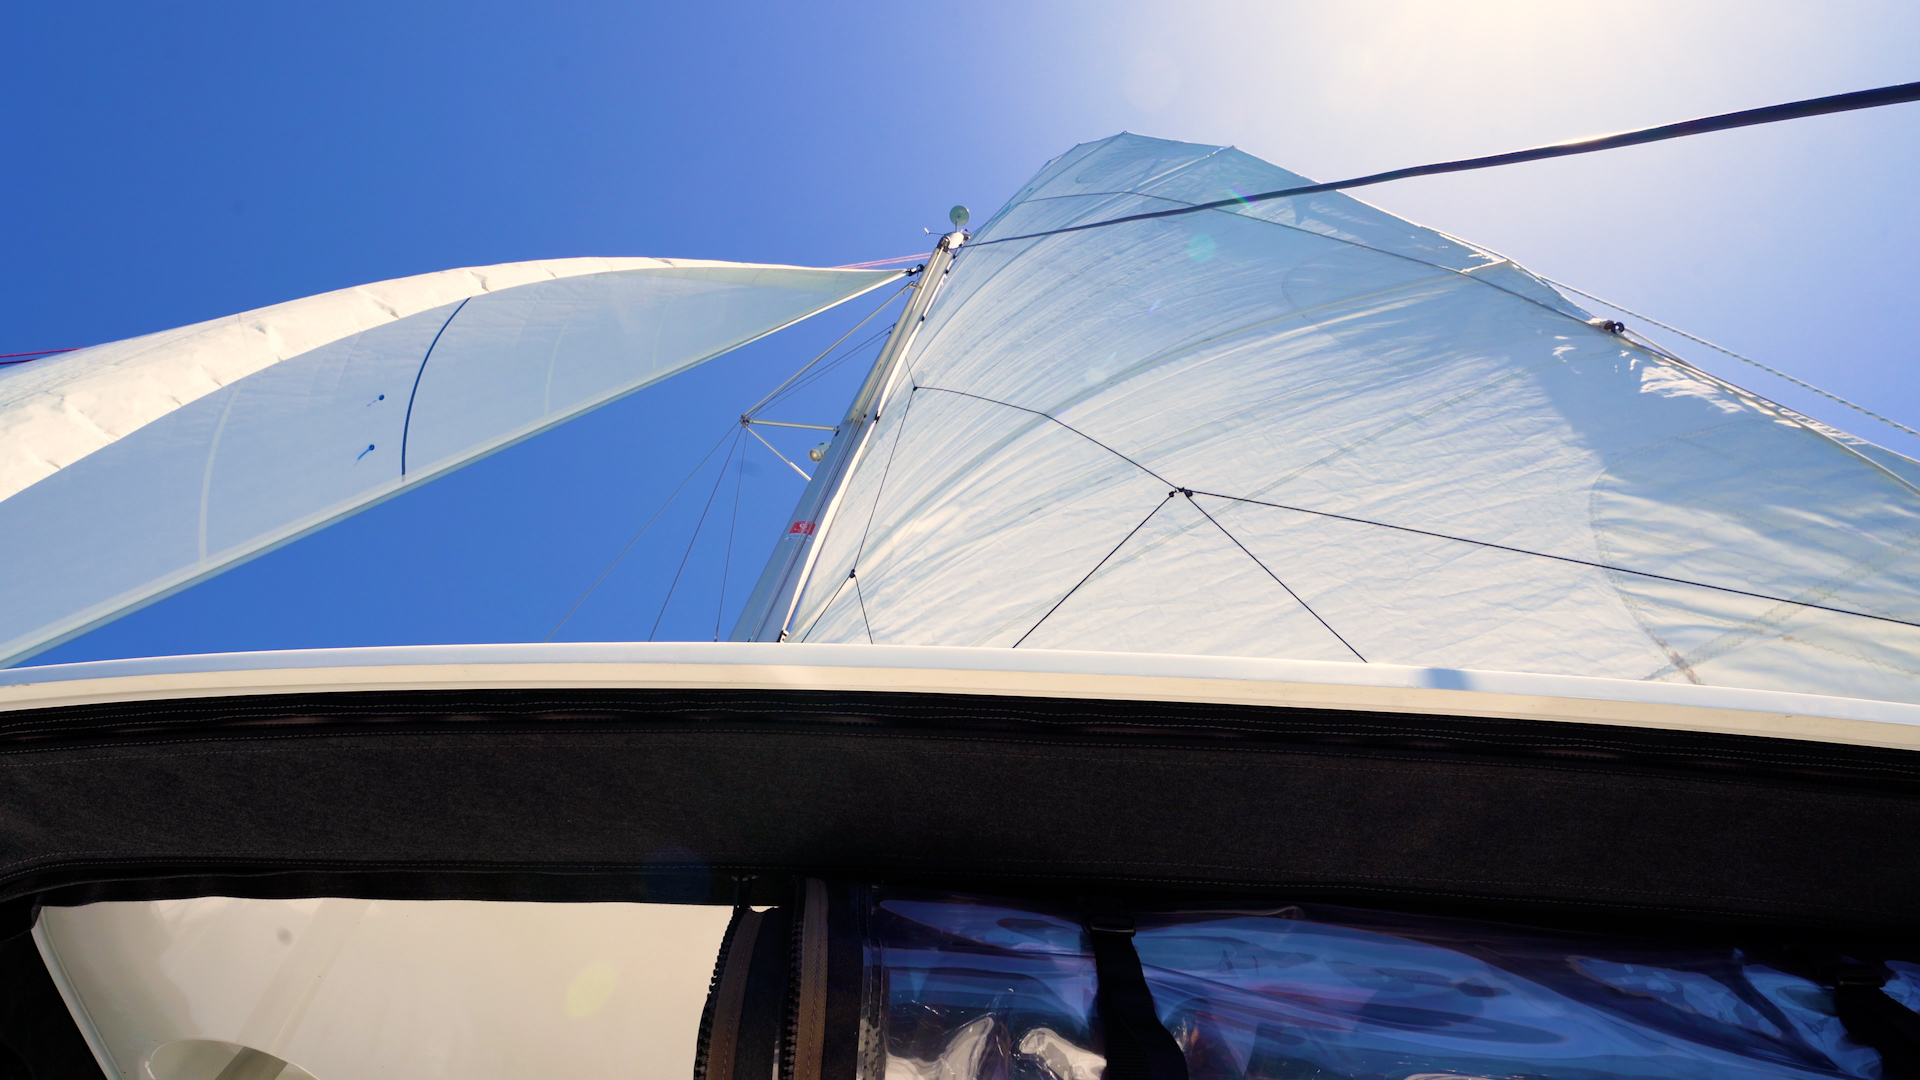
- When sailing downwind on any catamaran, generally there is no backstay to stop the mast falling forward. Instead there are shrouds which are swept back quite far, which means they might come into contact and touch the mainsail and battens. This is fine (for example) for 10 minutes while sailing on one tack in Pittwater, however sailing offshore for a week will cause a few problems on the battens and sail if it’s constantly touching the shroud.
- To sail downwind with your sails out as far as they can be without causing any damage to the sail and battens, ease the main traveller allowing the sail to move out leeward, then pull on the mainsheet to pull the boom down which will tighten up the sail just enough to pull the battens and sail off the shrouds, reducing any damage on the backside of the sail.
- You can also relieve pressure on the main halyard block and sheathe by loading the main halyard onto the winch, then dropping the mainsail by about 10 centimetres. If the main halyard is rubbing on any edges or over any corners, there is less chance of it cutting through the rope.
Reefing Points
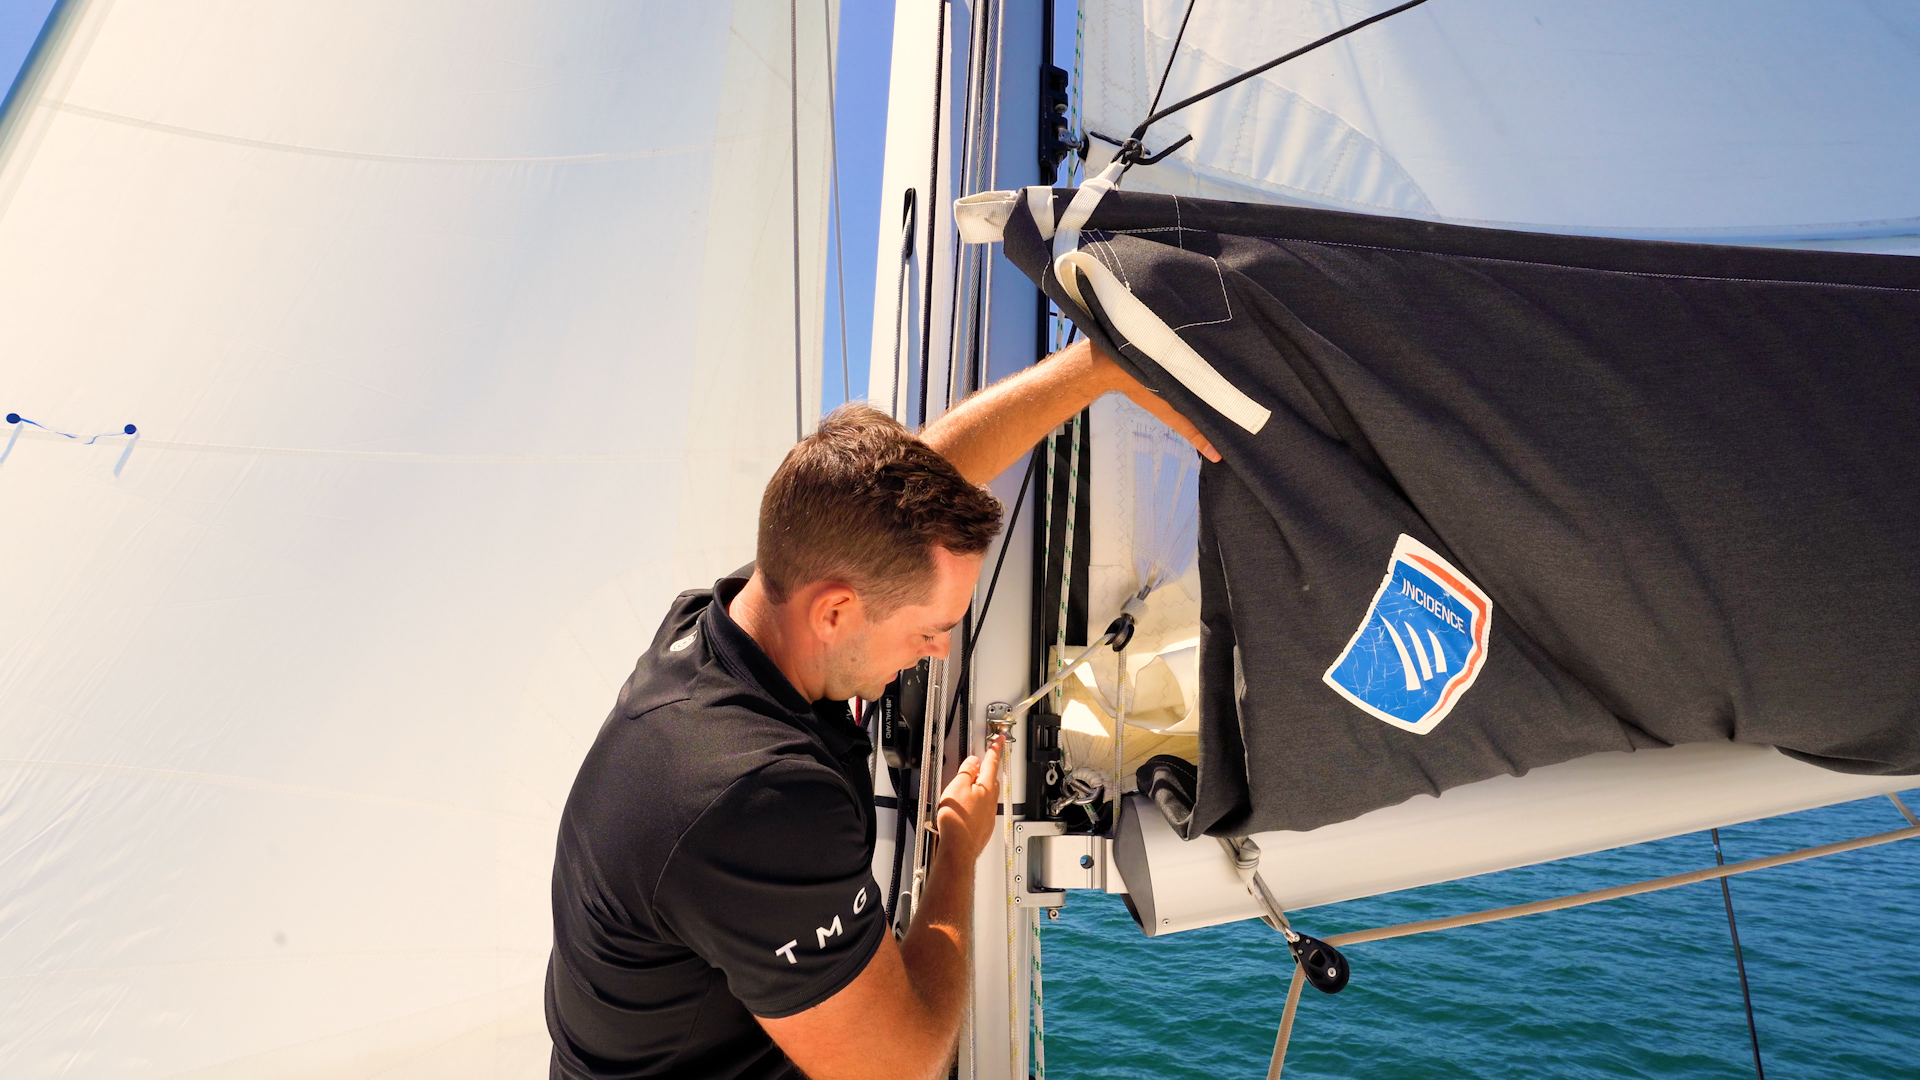
- In the video we have just put in Reef 1. If you would like to learn how to reef a mainsail in more detail, please have a look through our Learn & Inspire Blog Series where we have covered this in a previous blog.
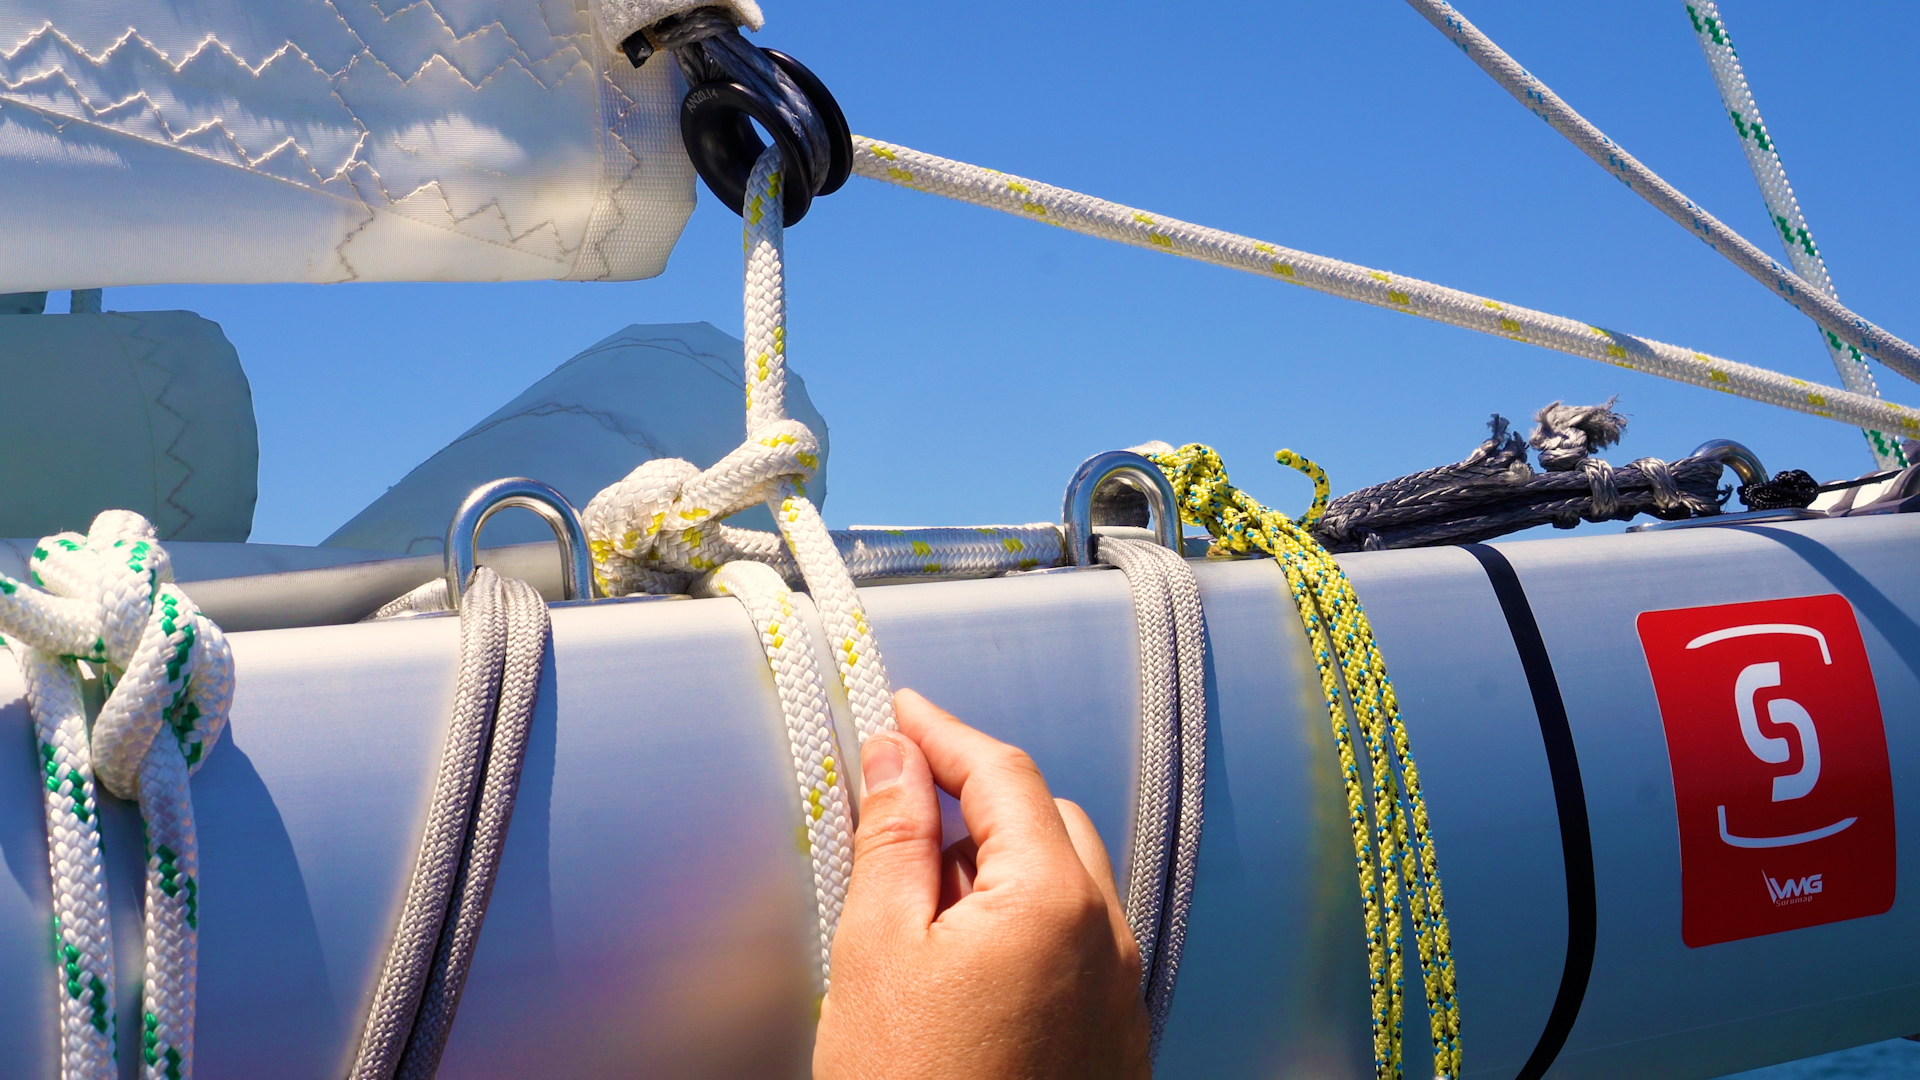
- Reef 1 is tied towards the back end of the boom, then feeds up through the back-end reefing point 1 of the mainsail, back down to the boom, running forwards, then out of the boom near the mast, through reefing point number 1 on the tack of the mainsail then down through the spectacle which is riveted to the rig, through the block at the foot of the mast and to the winch.
- It is important that there are not too many sharp angles on the line between the reefing point and spectacle on the mast.
- The spectacle on the mast is probably the highest chance of where you are going to come into trouble. It is important the line does not turn too sharply over the top edge. Minimise the angle that the reefing line needs to take to lead through the spectacle, without the reefing point being too high as this will lead to problems tensioning the mainsail correctly.
- At the back of the boom with reef 1 in, the reefing eyelet on the mainsail is about 10 centimetres off the boom, which is fine. The sail is being pulled down enough and aft enough, so the bottom edge of the sail is nice and flat. If this is pulled too tight the eyelet might come down and touch the boom, which could damage the boom and potentially the eyelet.
- It is also important to check the bowline which ties the reefing line around the boom, and check any other rubbing points for signs of chafing. A good way to do this is to run your fingers over the lines, feeling for any sharp edges.
We have covered some of the major chafing and wear points on a cruising catamaran. There are many more, some of which you might not know about, or some which may come to light after a delivery or even after owning a boat for a couple of months. It is important to regularly check all wear points on the rig, an act of due diligence. If you are sailing offshore for a number of days or a number of weeks, you would want to do at least a daily check on all moving parts of the rig. Access to the top of the mast is a little more tricky but a good pair of binoculars can help with that. If you are becalmed or it is very flat, perhaps go up and check the halyard especially for any sign of wear. Really you want to keep on top of these little problems that can become bigger problems if they do break when the weather is less than ideal.
All of these wear points do have varying consequences depending on the function of the line involved. The most important is probably the main halyard as it has the most significant consequences if it breaks through. We will talk through solutions on how to replace a main halyard in another video.
Thanks for reading!
LATEST FROM THE INSPIRE AND LEARN SERIES
Master Catamaran Sailing with Lagoon Campus
Launching in 2025, TMG Yachts introduces the Lagoon Campus—a tailored training program designed to upskill future Lagoon catamaran owners.
How to Dock in a Crosswind on a Catamaran (in a tight space)
In this episode, join Joe Fox as he walks you through the intricate process of docking a catamaran in a tight berth with a crosswind.
How to Fly an Asymmetric Spinnaker on a Catamaran
In this guide, we delve into the intricacies of flying a Code Zero on a catamaran, specifically the Lagoon 46. Join our expert, Joe Fox, as he walks you through the setup, preparation, and manoeuvres involved in harnessing the power of this versatile sail.


